Instant Success – How to Take a Soil Test

Why do you even care? You’re busy, right!?Soil Test Warning

Soil tests tell you exactly what your lawn, landscape, or soil is missing. Add the proper ingredients and your patch will thank you by looking great!

Soil tests are used by the pros, because they work!

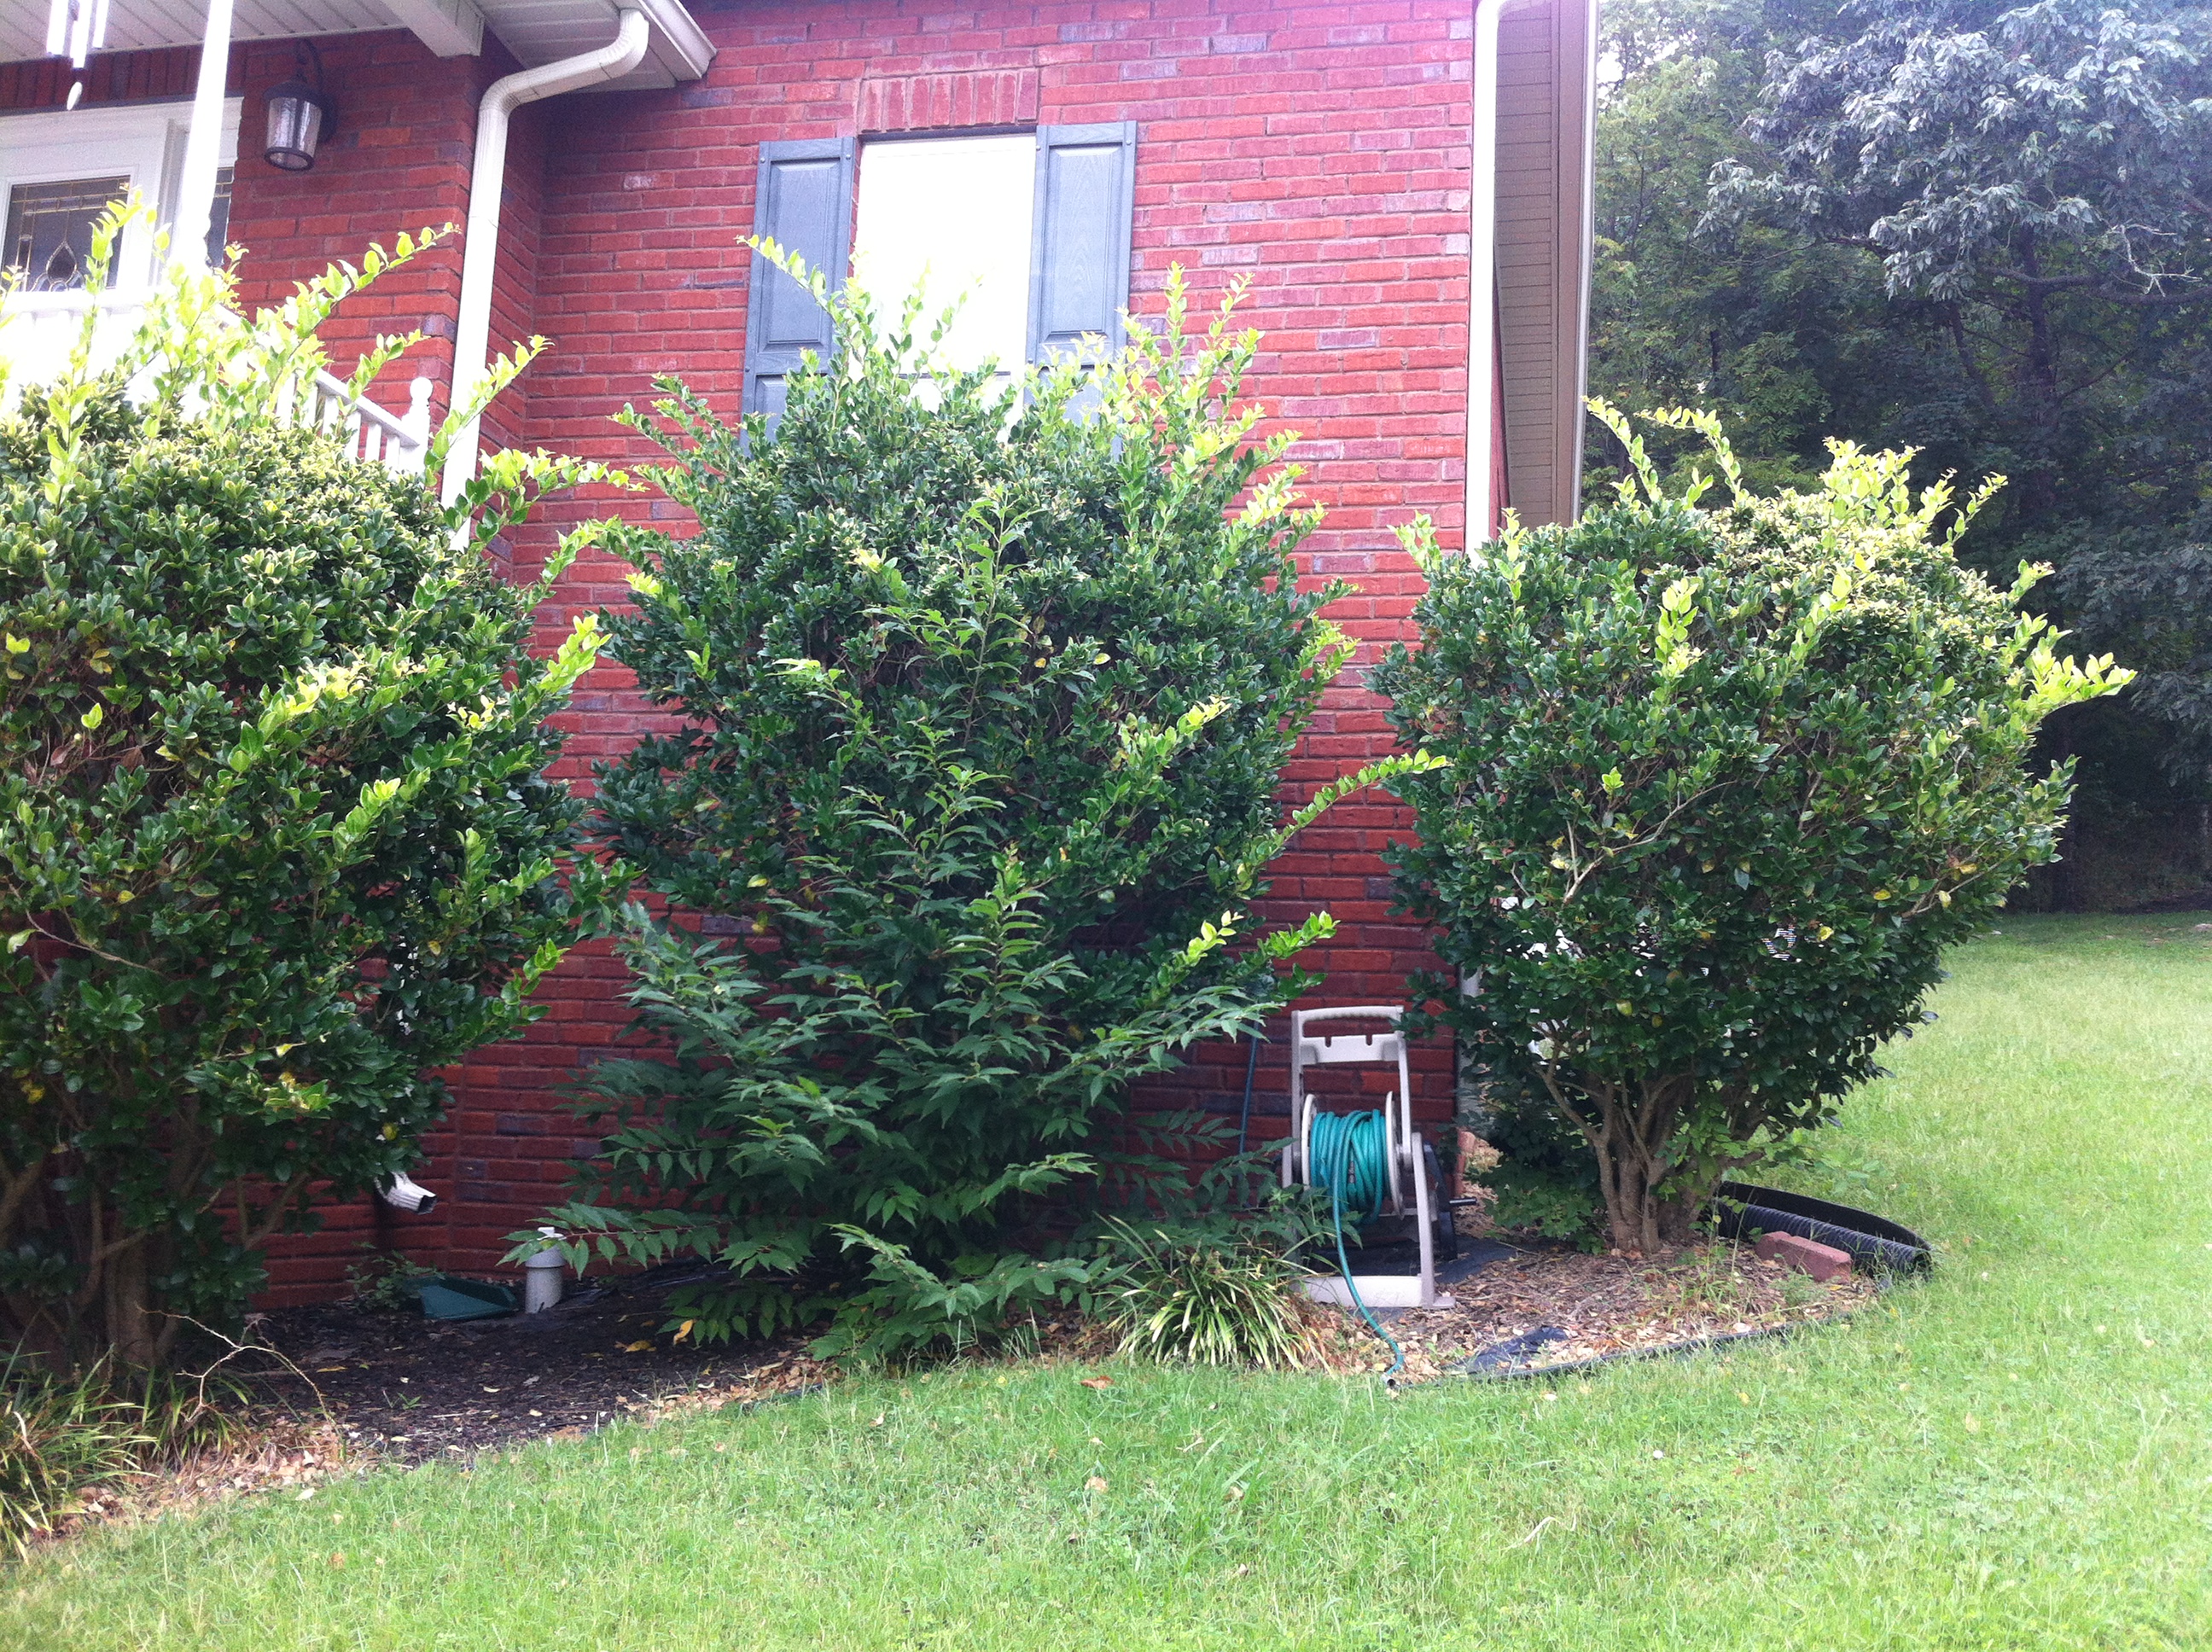
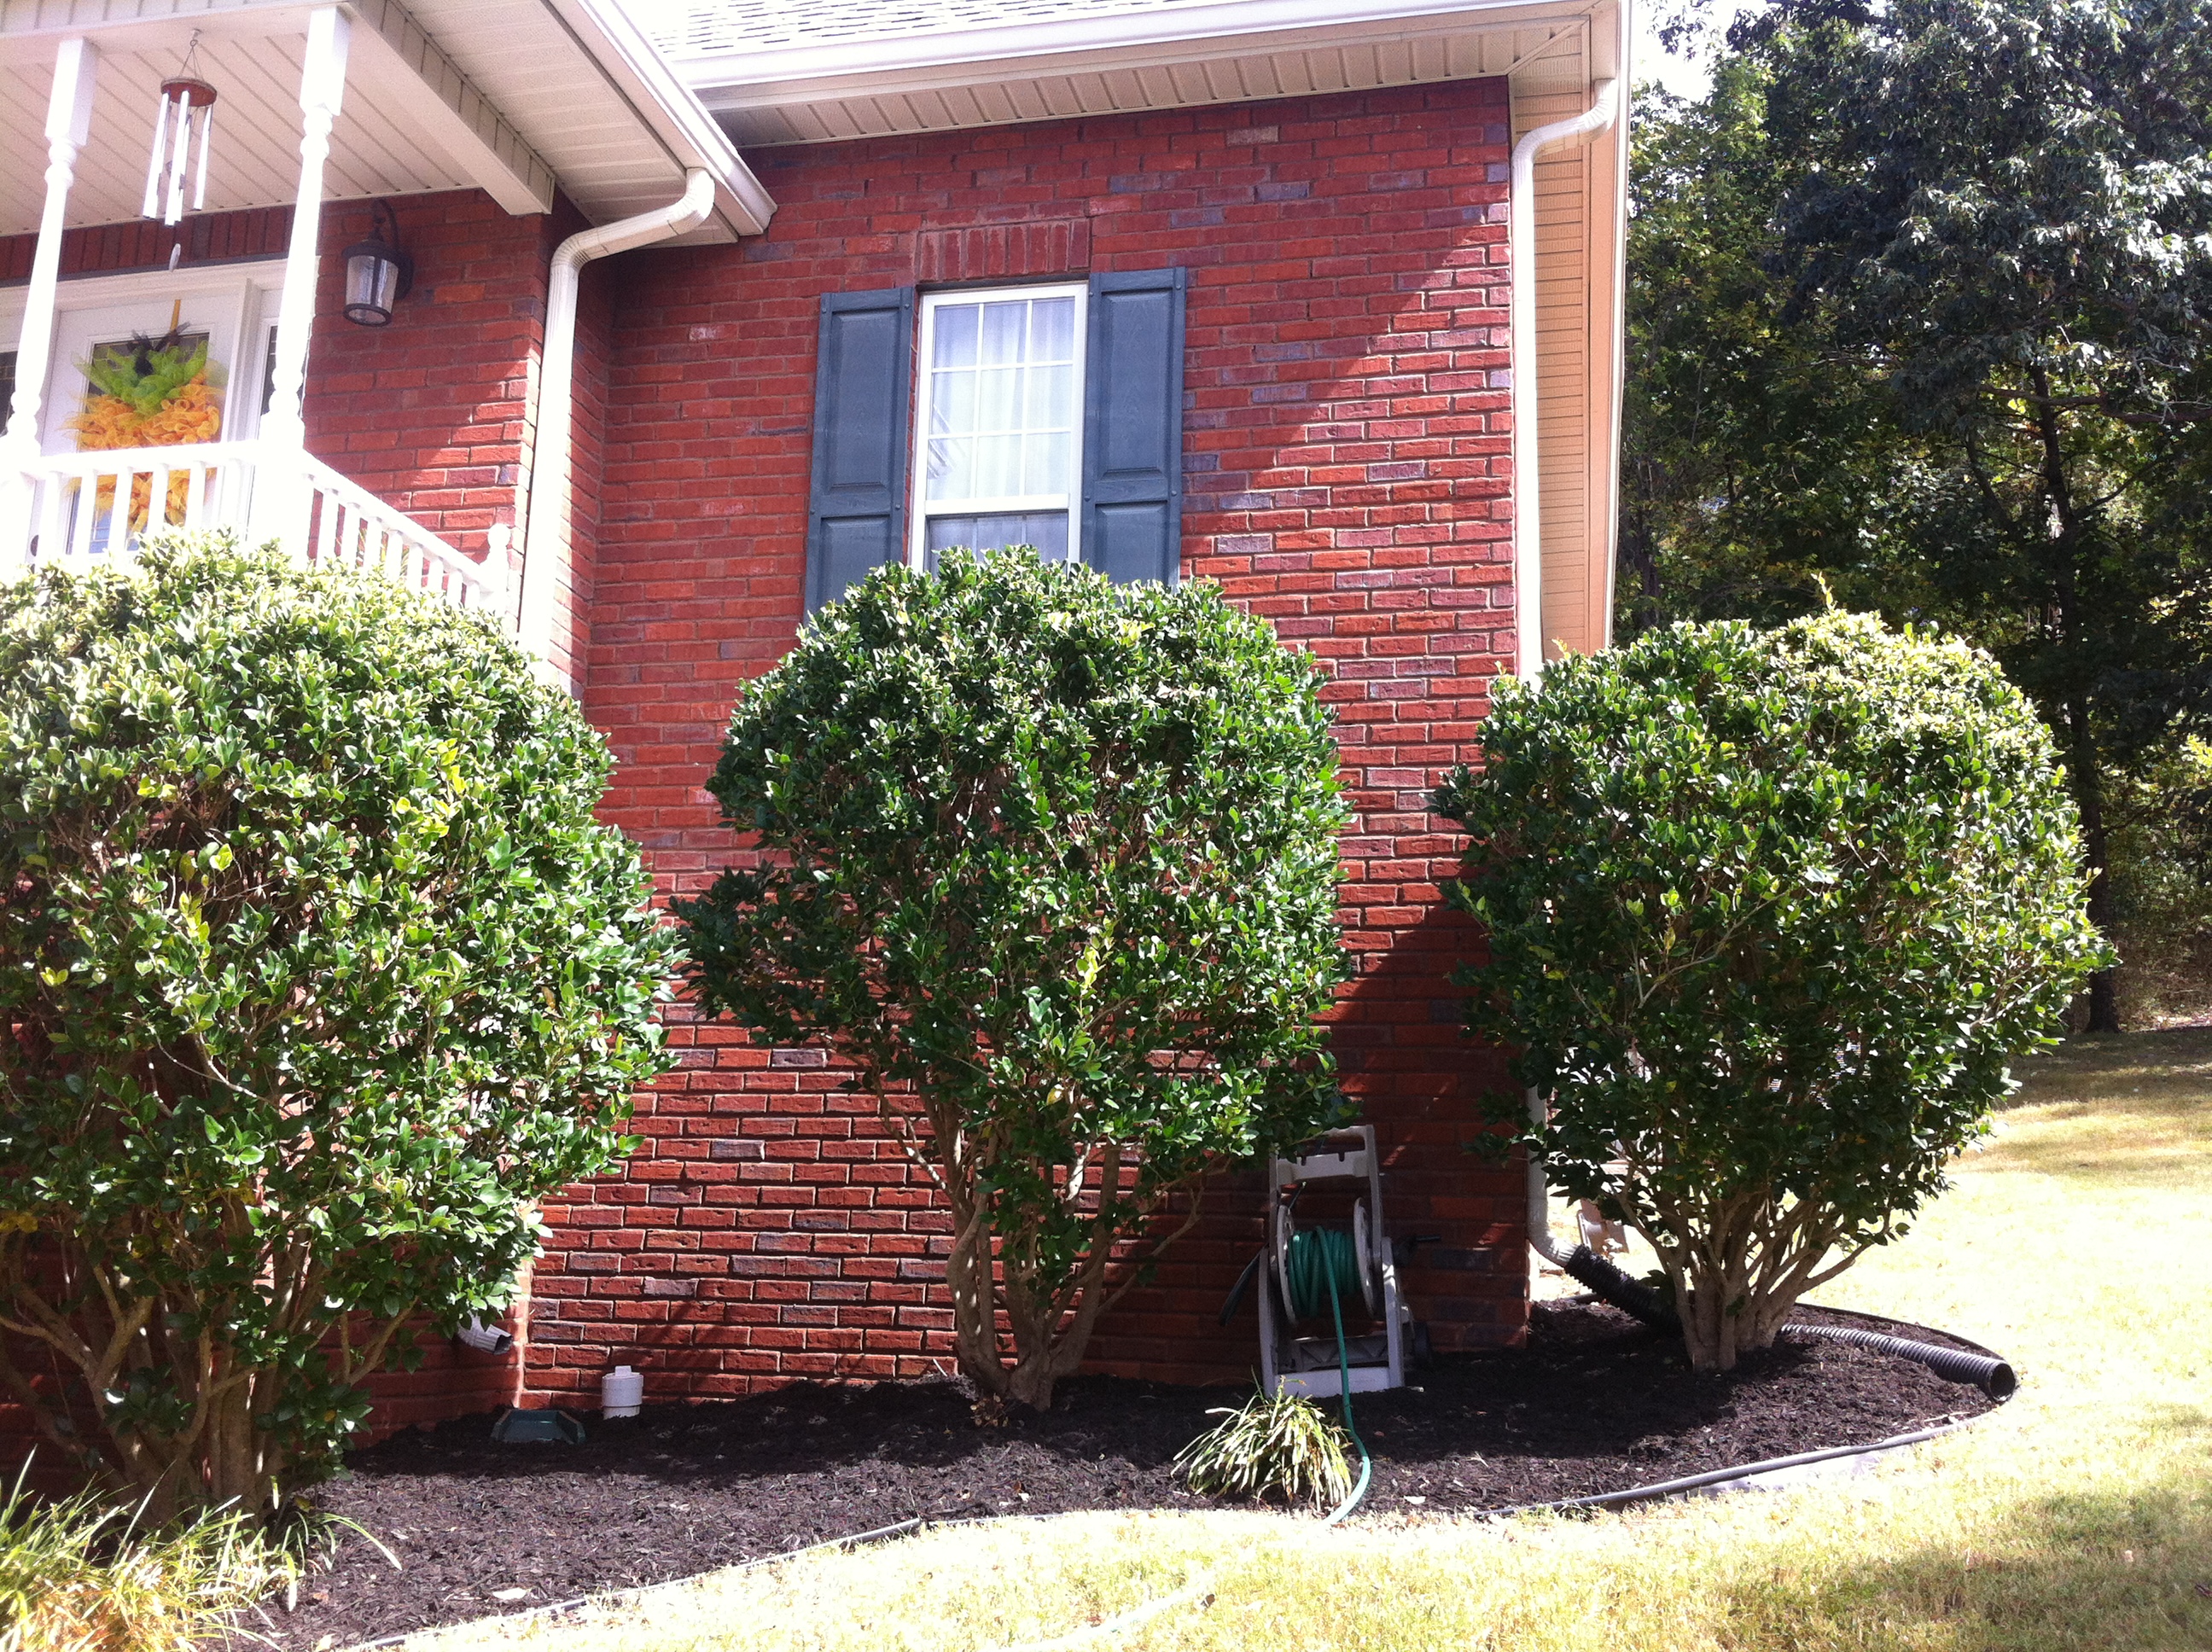
You Probably Know Your Problem Area

If you definitely have bad soil in one spot and better soil in other places, consider two soil samples for lab analysis. I recently paid $8.50 for each sample with a 10 day result. Call your local farm extension office for options.

Where To Buy

I have never bought soil testing equipment online. I don’t endorse any soil testing kit sold online. Just send your soil off to a pro lab through professional networks.

Your local agriculture extension office will know where to go. If you have a local farm store, they will know what to do. You may have a farmer’s co-op in the area, they’ll have an answer.

Step by Step
  • Scrape the vegetation (grass, etc.) away from the hole. You don’t want grass or any organic matter in the sample, just soil. Organic matter like grass will skew your lab results.
  • Dig a small round hole 6 in. deep. Place the backfill soil away so it doesn’t mix with your sample.
  • Shave the edges of the hole with a trowel or spade and use as your sample.
  • Place the soil sample in two (double-bagged) plastic grocery bags to prevent spillage in the car.
  • Dig two more holes and repeat (Optional, but recommended).
  • Follow any additional instructions on soil test bag.
Understanding Your Soil Test Results
  • Actual soil test results. Notice the recommendations at the bottom based on pounds (lbs.) per 1000 sq. ft.

Your results will describe the amount of Nitrogen, Phosphorous, Potassium, etc. This is why you buy the soil test from a farm store. They will know how to interpret the results and have the ingredients you need to fix your soil.

For example, say you want green grass. You get a soil test. It shows low magnesium and calcium. You add limestone in the proper amount, the soil pH changes, and your grass looks brilliant.

If you get a soil test and need help with the results, please contact me on the Facebook page and I’ll do all I can to help you succeed!

Why You Can’t Afford to Make These Mistakes


Top 10 Edible Landscaping MistakesYou’re new to growing stuff, right?

Well, I’m not. And I got here through trial and error. It’s painful and frustrating. But I’ve made every one of these mistakes (some more than twice)!

Purchasing Mistakes

Buying edible plants at the garden center, taking them home, and parking them in a sunny spot, never to install. SO many plants die this way. Get them in the ground quickly. I know, it’s fun to buy, but when you get home, make the extra effort and install quickly. If you have to wait, keep them moist and in the shade.

Buying/Planting too much at one time. All the fruit or veggies will be ready at the same time. Stage your planting interval over several weeks if you’re planting more than a few at a time. The pros plant for several weeks straight to have a consistent harvest. Don’t buy all your plants at once if you’re new.

Edible Landscape Design Mistakes

Trying to grow edibles in the shade. You need sun and a lot of it. 6+ hours of direct sunlight to have success.

Planting too close together. Read the plant tags. It doesn’t look like it, but your plants are going to expand to the recommended size. More space means a healthier plant with fresh air and more room for roots to grow.

Not keeping cats/dogs/rabbits away from your edibles. Sometimes a hardware cloth fence is necessary. I use raised beds made from 2″x8″ cedar boards. This keeps the rabbits from eating my lettuce and cabbage.

Using pressure (chemical) treated wood for a raised bed. Use untreated wood products. The chemicals that keep pressure treated pine from rotting can leach into the soil and harm you when you eat your plants. Two better options: Cedar is rot-resistant, but expensive. Pine is inexpensive and easy to replace after a few years. Try both!

Maintenance Mistakes

Not harvesting your veggies/herbs/fruits when they’re ready. I have a confession to make. I always let my plants get out of hand. The veggies are ready to be picked and I procrastinate. Every year.  Maybe it’s just that I like to grow and look at pretty things. Or maybe I’m just tired from working all day and don’t want to toil more. Or maybe I know I have to cook a meal with my fresh produce! You’ll have several days to weeks before this becomes a problem. Get ready to reap the harvest! Maybe this is just a unique problem I have…

Watering Mistakes

Not watering consistently. Set a reminder on your phone. Make it daily and disregard it if it has rained. Read the next step to make sure you’re not overwatering.

Not checking the soil moisture with your finger. That’s all you have to do. If it’s wet, let it be. If it feels dry, irrigate to soak then allow to dry. Extra credit: If you’re growing in a container, you can lift the container to feel the weight.

Not leaving a hose nearby. Nothing screams “garden chore” like dragging hoses around. Heavy hoses will break your tender plants too. Be careful dragging. Also, put a hose wand (or valve) on the end to turn on/off water easily.

Soil or Growing Media Mistakes

Get a soil test BEFORE you’re ready to plant. The test will tell you exactly how much fertilizer to add. Too much fertilizer wilts plants because it contains salt. Pros do soil tests, you should too!

Not knowing your soil pH (get a soil test). If the soil is too acidic, the lettuce will taste bitter. Ask me how I know. Add limestone to acidic soil. Most herbs/veggies love pH above 6.0. Blueberries like very acidic soil so you may need to add sulfur.

Just Get Started

Don’t worry too much about failing. It’s going to happen. But these are the most expensive and time consuming mistakes. Avoid these mistakes and you’ll be well ahead of the pack. Did you notice I gave you 12 mistakes instead of 10?

3 Ways To Increase Your Curb Appeal Dramatically

Curb appeal isn’t complicated, it’s all about looking good. You want your neighbors to envy your landscape, each and every time they drive by. Here’s three ways to quickly increase your neighbor’s jealousy.

Prune your plants, but don’t hack them to death. Train them into circles or squares, especially evergreen shrubs. . This softens the look and feels pleasing to the eye.

Ligustrum shrubs need pruning.

Ligustrum shrubs need pruning.

Ligustrum shrubs look nice and neat after pruning.

Ligustrum shrubs look nice and neat after pruning.

Next, add seasonal color (annuals) in front of your existing trees and shrubs. Choose begonias for the warm season and pansies/violas for the cool season. Curb appeal increases with uniformity. Add the same color or similar colors in more than one bed.

Lacks seasonal color and interest.

Lacks seasonal color and interest.

White pansies and ornamental grasses with black mulch add interest.

White pansies and ornamental grasses with black mulch add interest.

Finally, after cleaning up your hedges and installing seasonal color, add two inches of mulch. Choose pine tree nuggets, pine straw, or black/brown hardwood mulch.

You’re going to be so proud of yourself after a month. The annuals will grow quickly and fill the empty space. Curb appeal complete!