After framing your vision, let’s look at budget. Budget determines how large your plants will be.
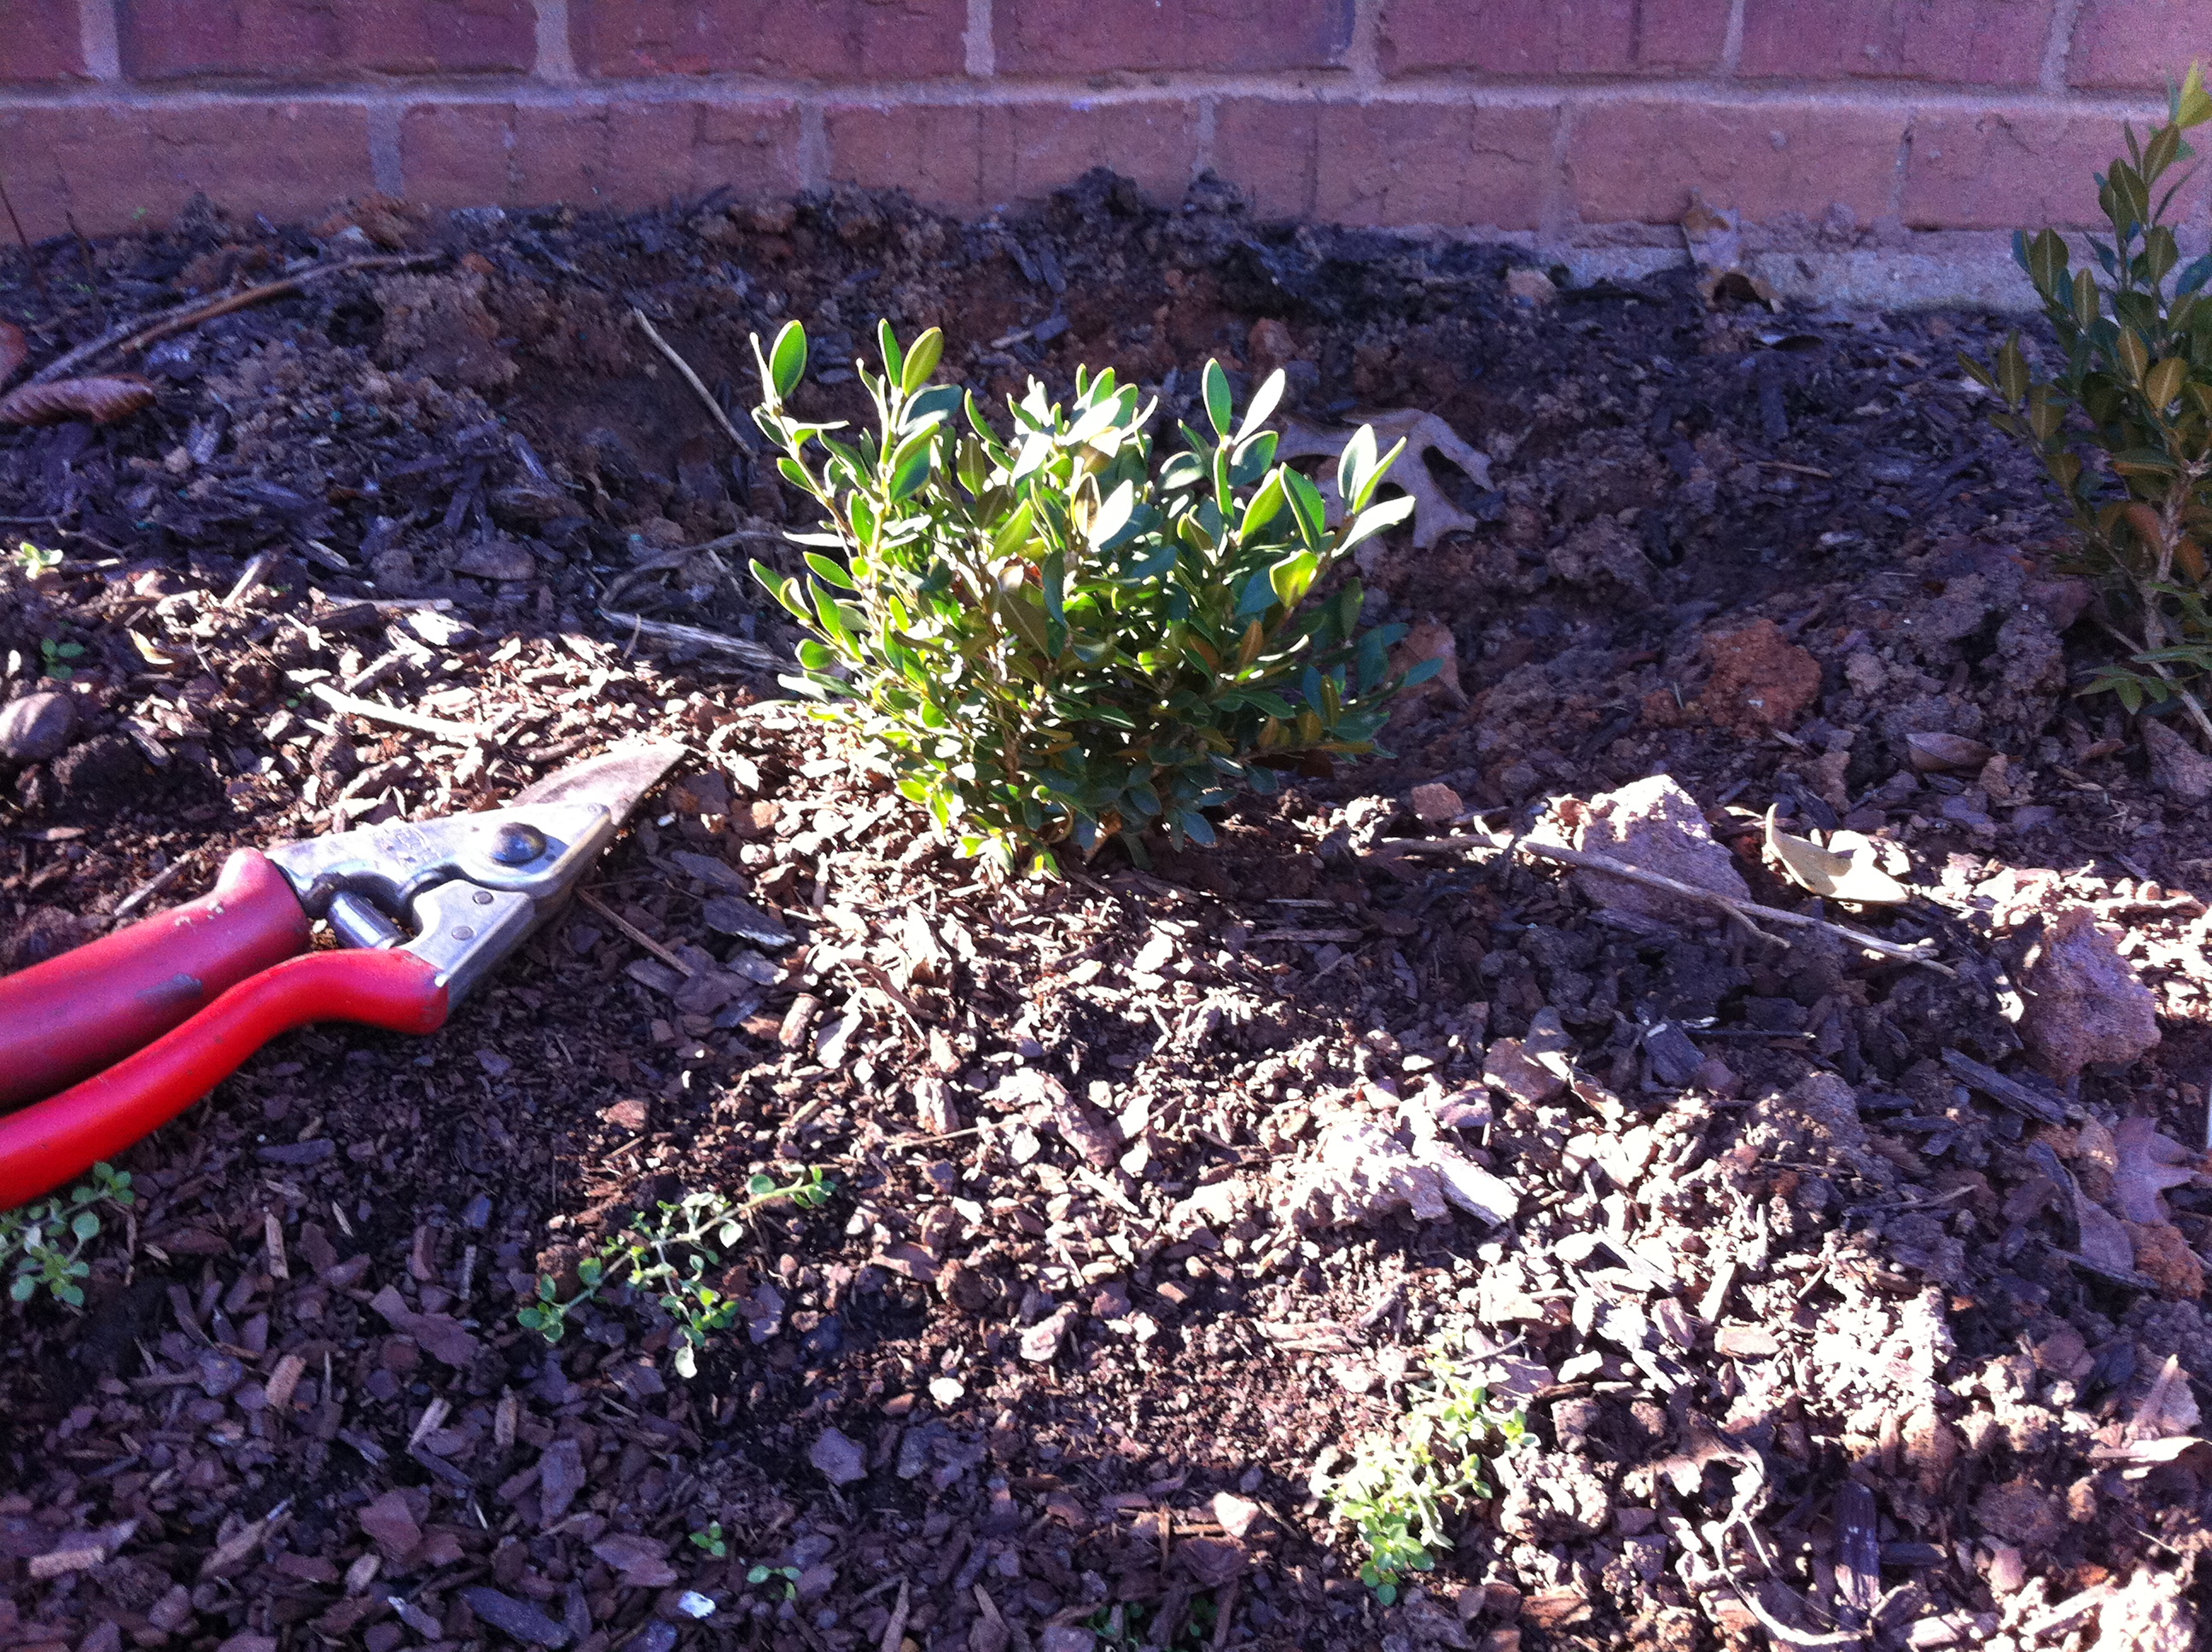
Small evergreen plants save money and grow quickly.
Budget can be a tricky subject. How much should I spend? (There is no wrong answer).
Landscape plants are sold based on how old they are. The larger and older, the more expensive. Some plant varieties like Japanese Maple seem really expensive for their small size. The reason is age. They grow more slowly than a red maple or sugar maple.
I’ve planted huge plants and small ones.
I can say with 100% accuracy that older, larger plants required more nursing. Small plants establish more quickly. If you’re new, start with smaller, less expensive plants.
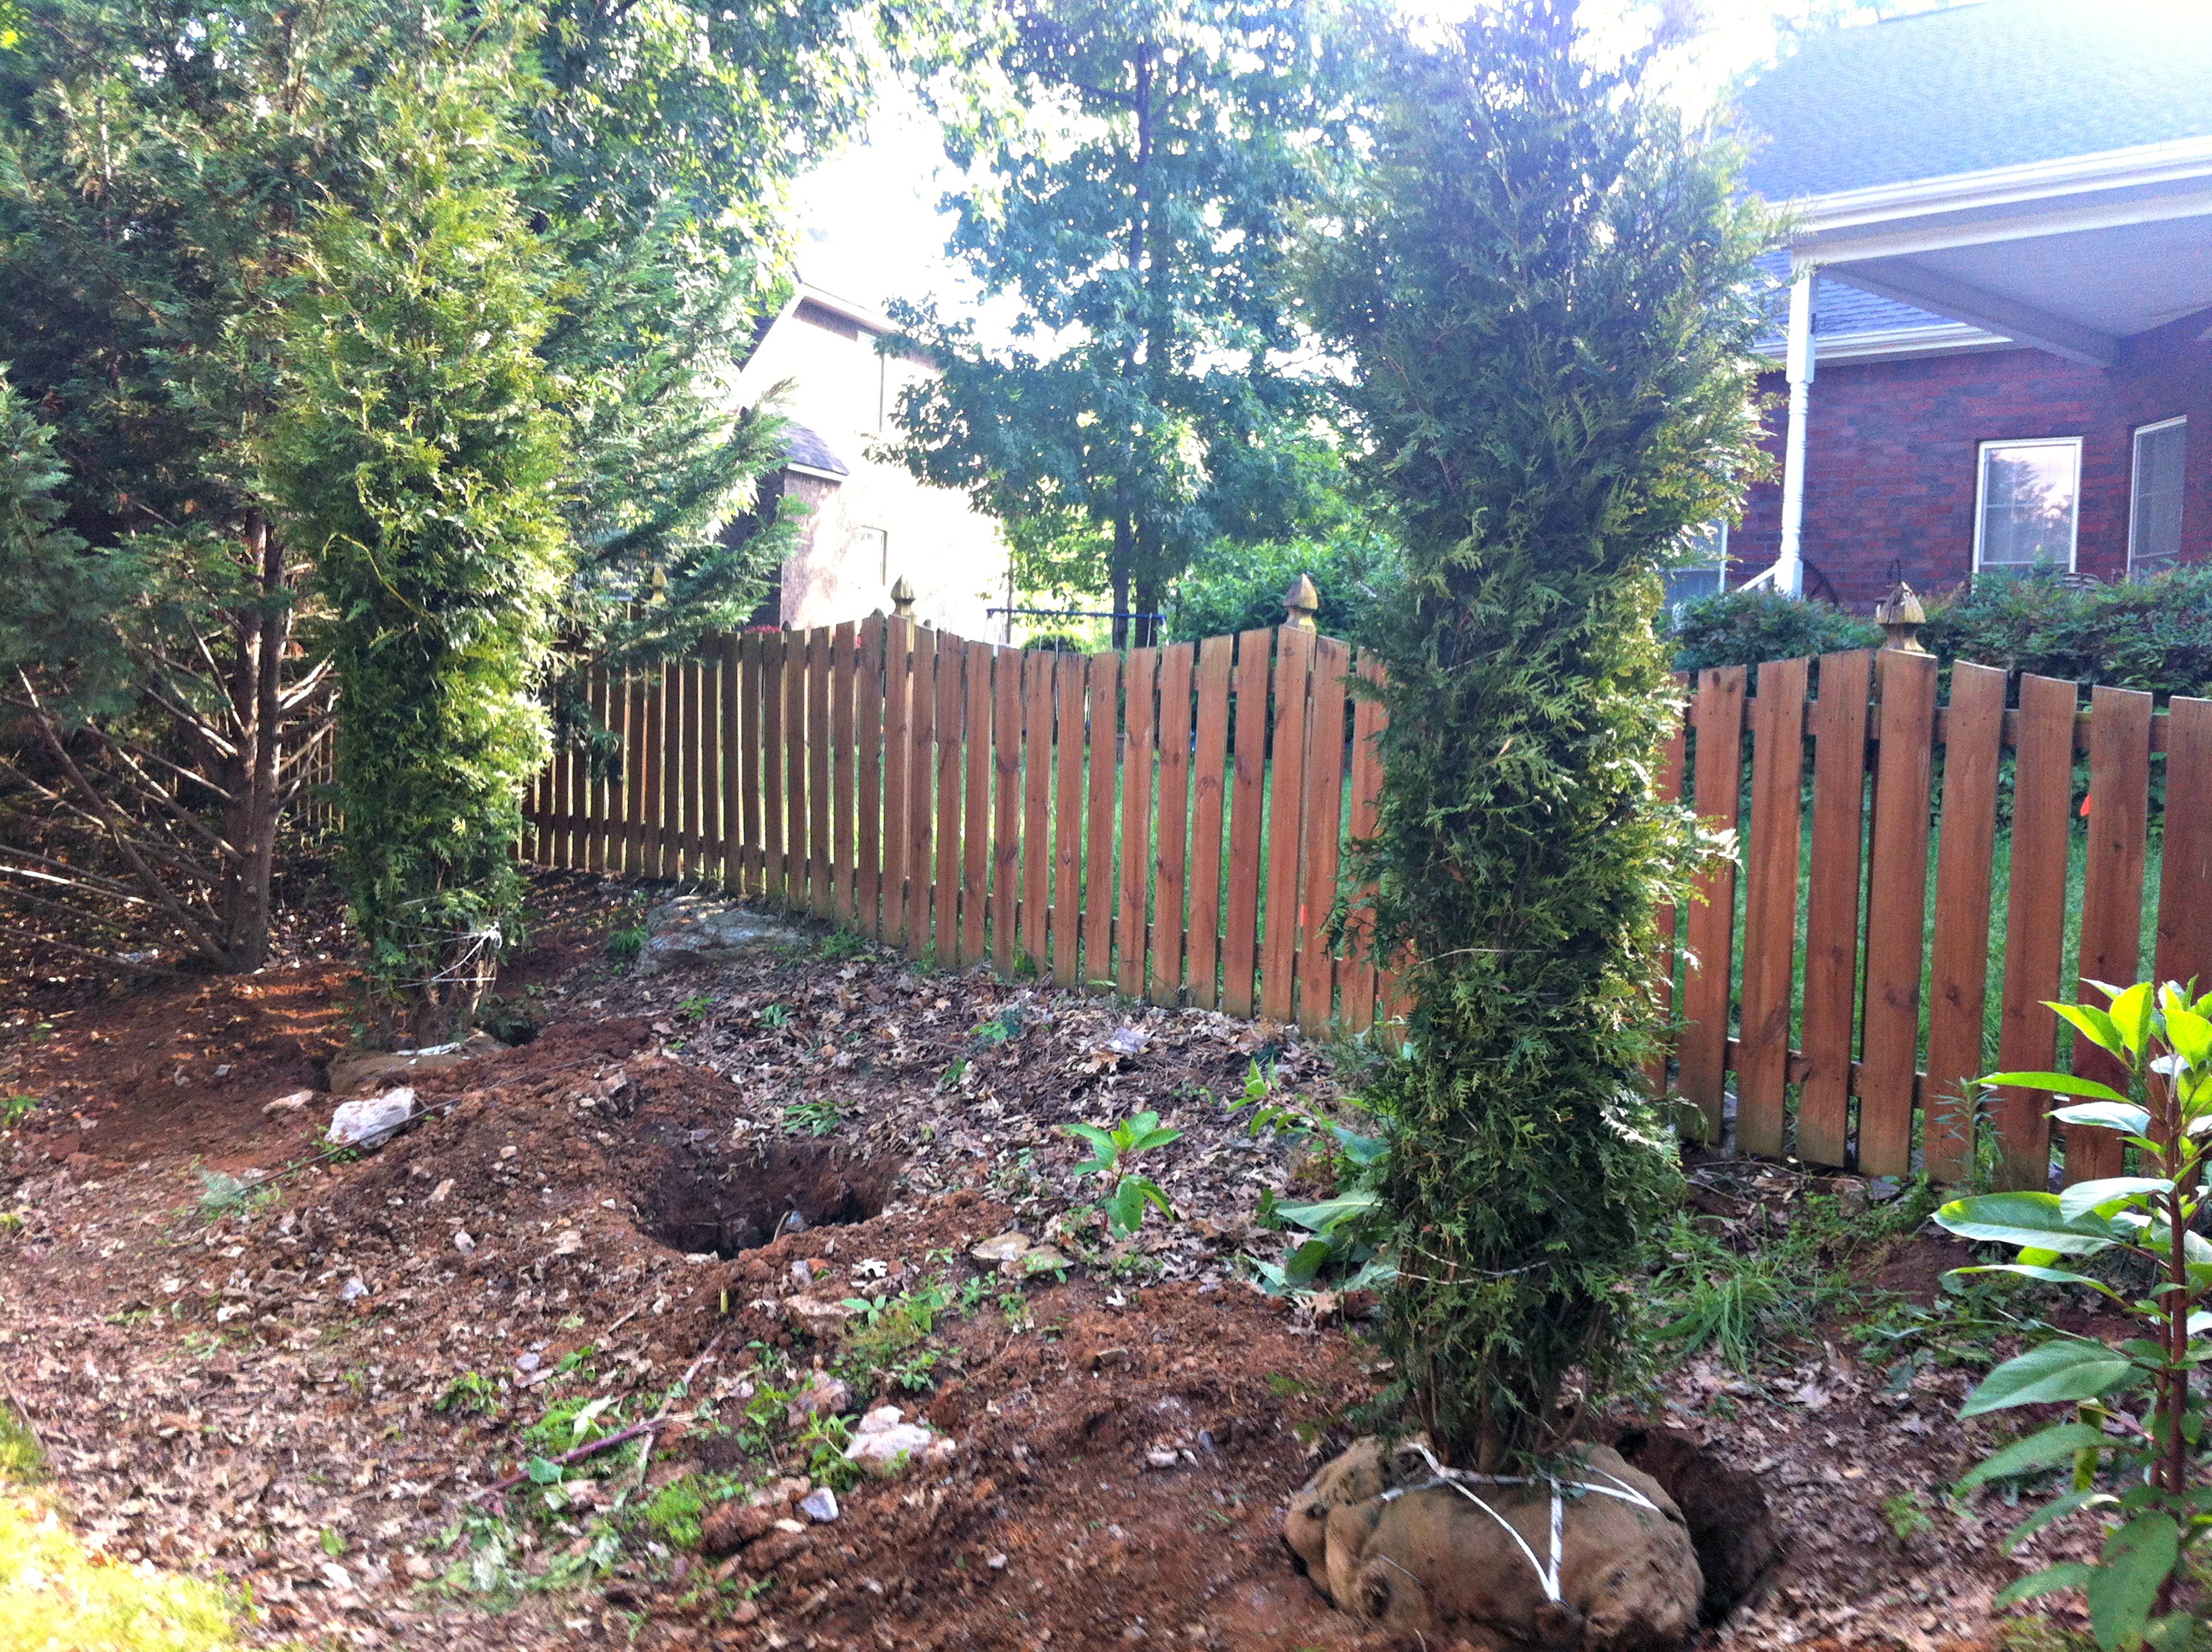
Your budget can also deal with delayed or instant gratification. What do you want? If you want an instant, mature landscape, prepare to pay. If you have time and aren’t planning to move, consider starting small.
If your budget is less than $100, look for bargains and prepare to landscape parts of your yard each year. You probably won’t be able to do it all at once. I recommend beginning with evergreen plants and installing small, young units around the foundation and in privacy screening areas. Evergreens frame the open space and create uniformity.
A budget over $500 allows you to invest in larger, older plants. Less plants may be needed. Remember to space plants correctly. An expensive mistake is installing plants too closely together.
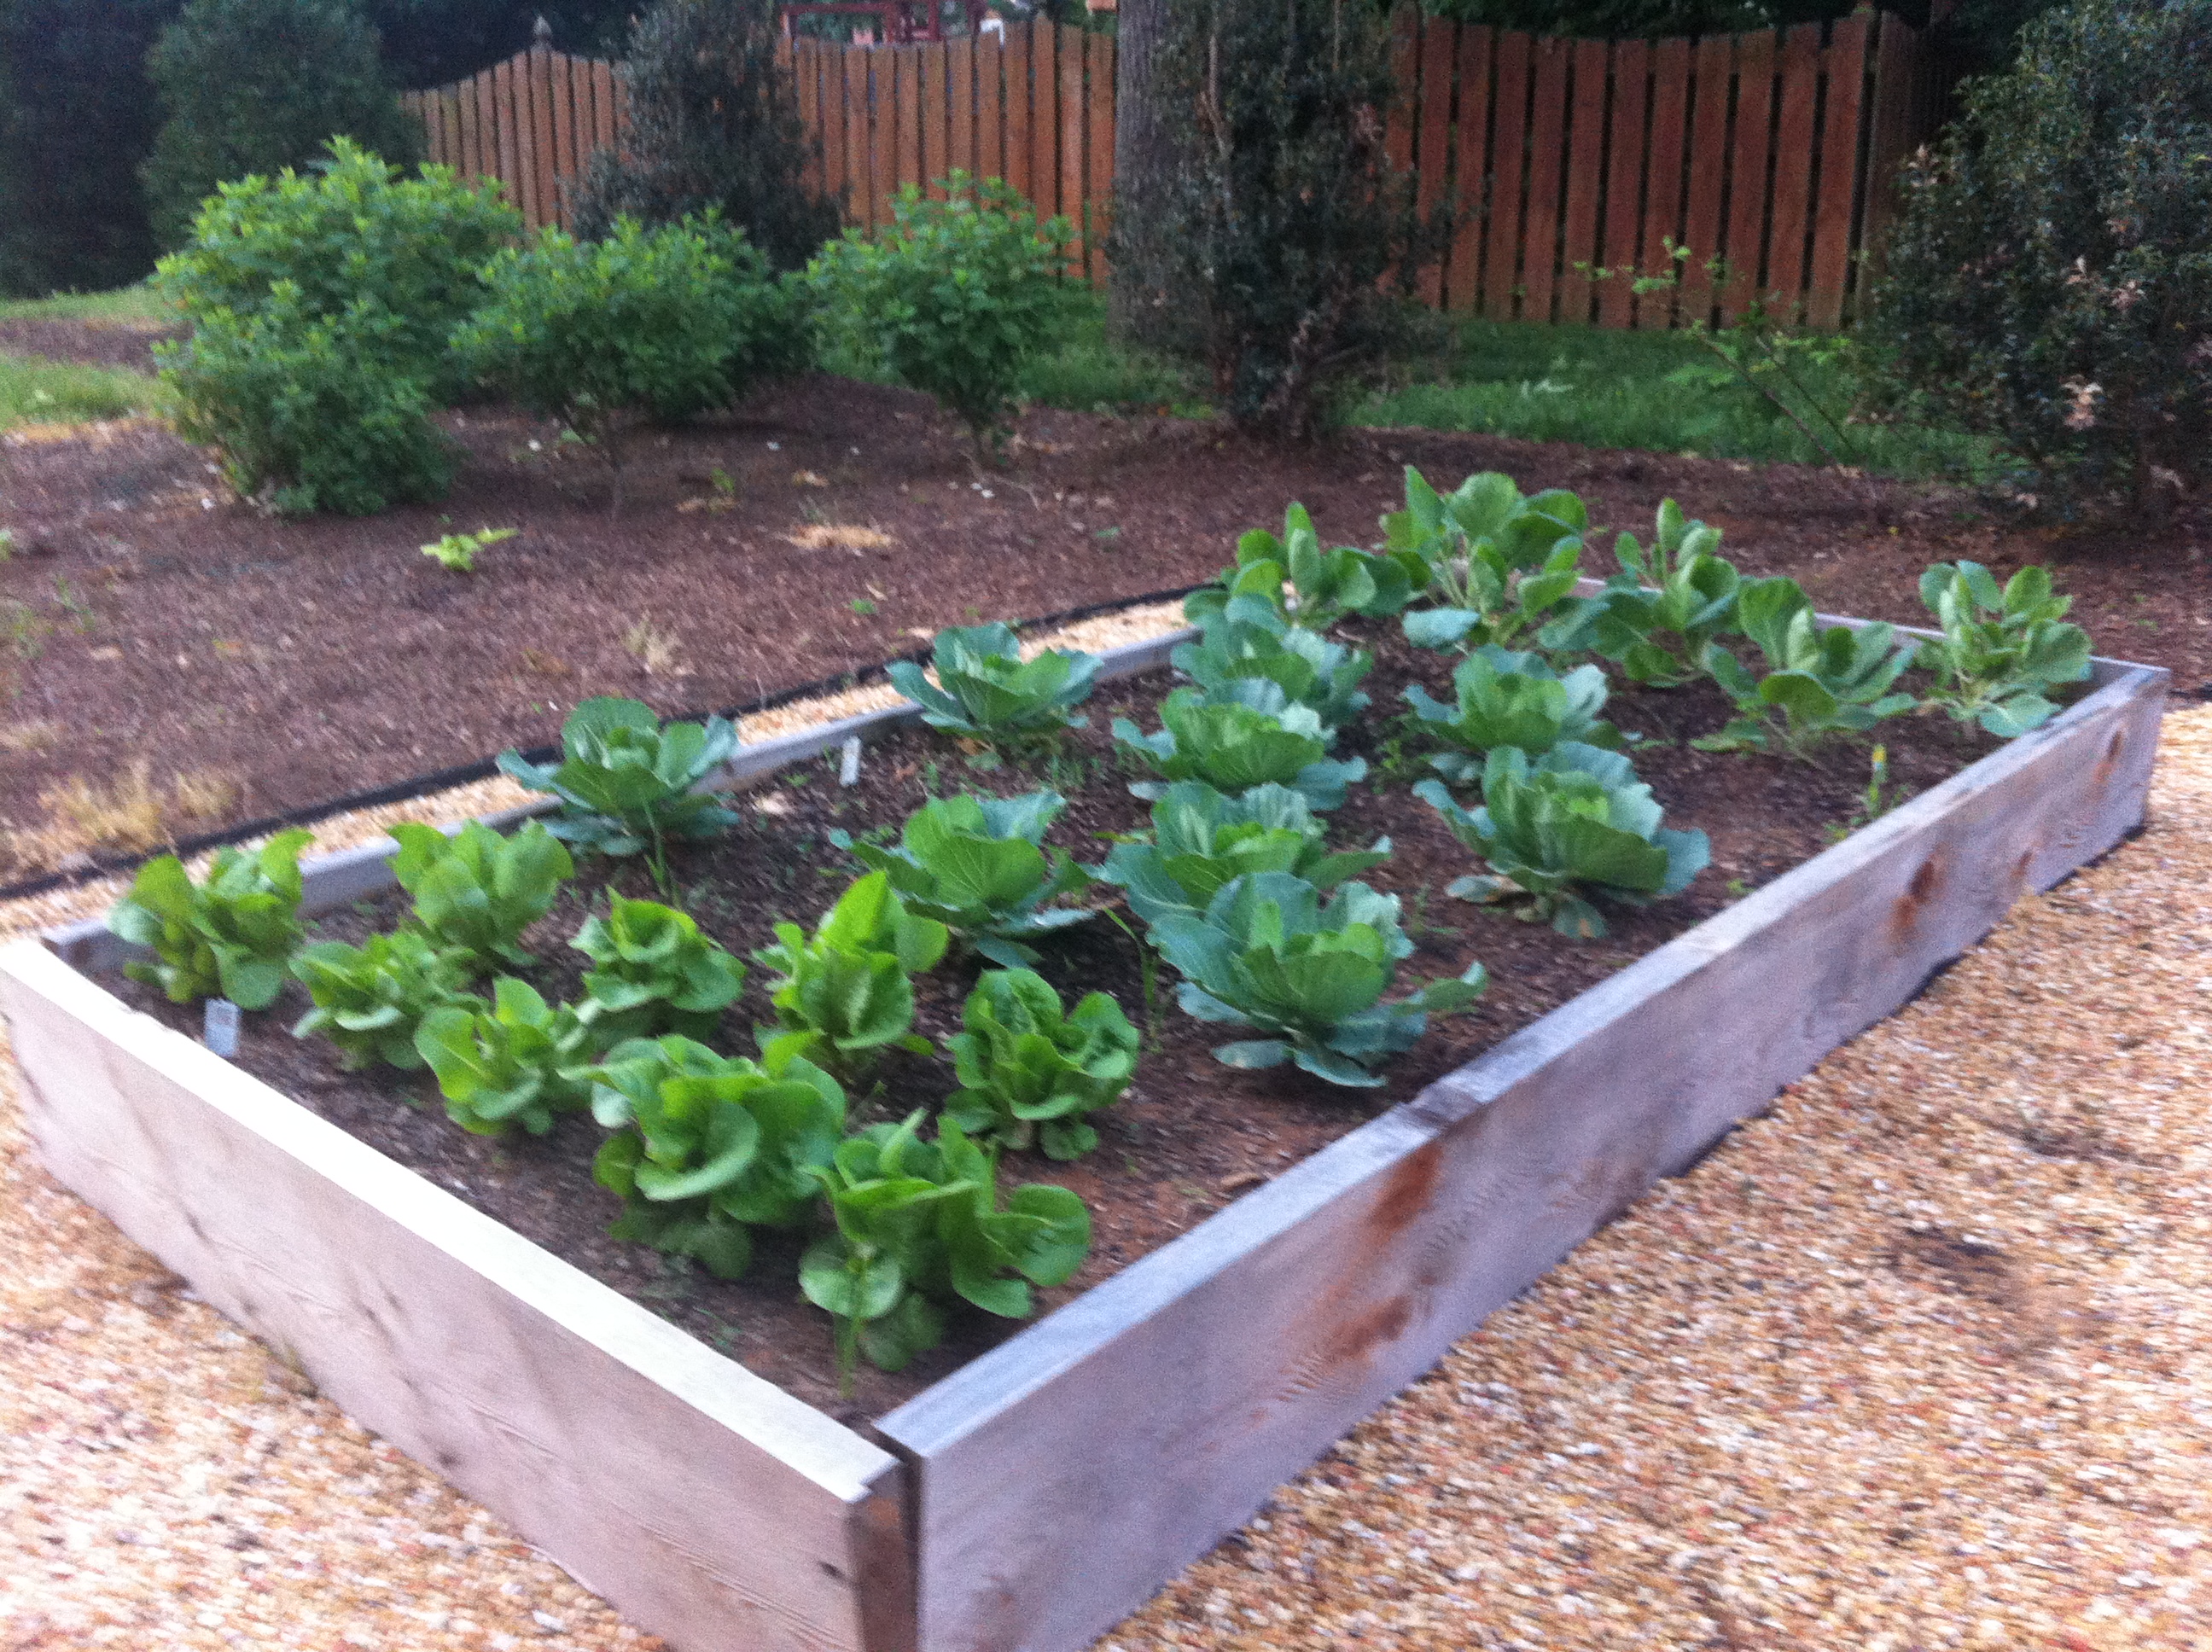
After budgeting for evergreens, do you want color? Annuals and perennials (flowers) are inexpensive. For the most color, choose annual varieties. For the thrifty homeowner, choose perennials. Perennials return year after year. Remember to design with the same colors. Uniformity and consistency define pro landscapers and homeowners.
Check out Step 3 Next!